Google Cloud resources can be organized into organizations, folders, and projects. This allows users to build a resource hierarchy to better manage cloud resources, and their associated policies and access controls. In order to enable this resource hierarchy, an Organization resource needs to be created in the Google Cloud account. At the time of writing, the only way to create an Organization resource is to create a Cloud Identity or Google Workspace account.
prerequisites
internet domain(s)
Cloud Identity needs to be associated with an Internet domain. Naturally, users needs to prove ownership of the domain in order to provision a Cloud Identity instance with it. So you’ll need access to the domain’s registrar and DNS records.
Most organizations would already have an Internet domain for their web presence. It may be tempting to use the same domain for Cloud Identity, but I’d recommend creating a dedicated sub-domain for Google Cloud. For instance, app.example.com or gcloud.example.com instead of example.com.
You should also consider creating additional sub-domains (and Cloud Identity) such as app-dev.example.com for development environment, especially if you require Google Cloud support. This is because (at the time of writing this), Google Cloud’s support is turned on/off at the Organization level. So, if you want different support level for production and non-production environments, you’ll need to park your resources in different Google Cloud Organizations.
super admin email
The first user you create along with Cloud Identity will be the super admin by default. So it is a good idea to identify a user name for the super admin.
overview
I’m using Cloudflare as my domain registrar and DNS provider. I already owned a domain, redacted-domain.com. I’ll create a Cloud Identity account using app-dev.redacted-domain.com subdomain.
let’s get started!
signing up
First, follow this URL: https://workspace.google.com/gcpidentity/signup?sku=identitybasic to sign up for a Cloud Identity Free account.
You’ll answer a couple of questions, such as your business name, number of employers, and the country you operate in.
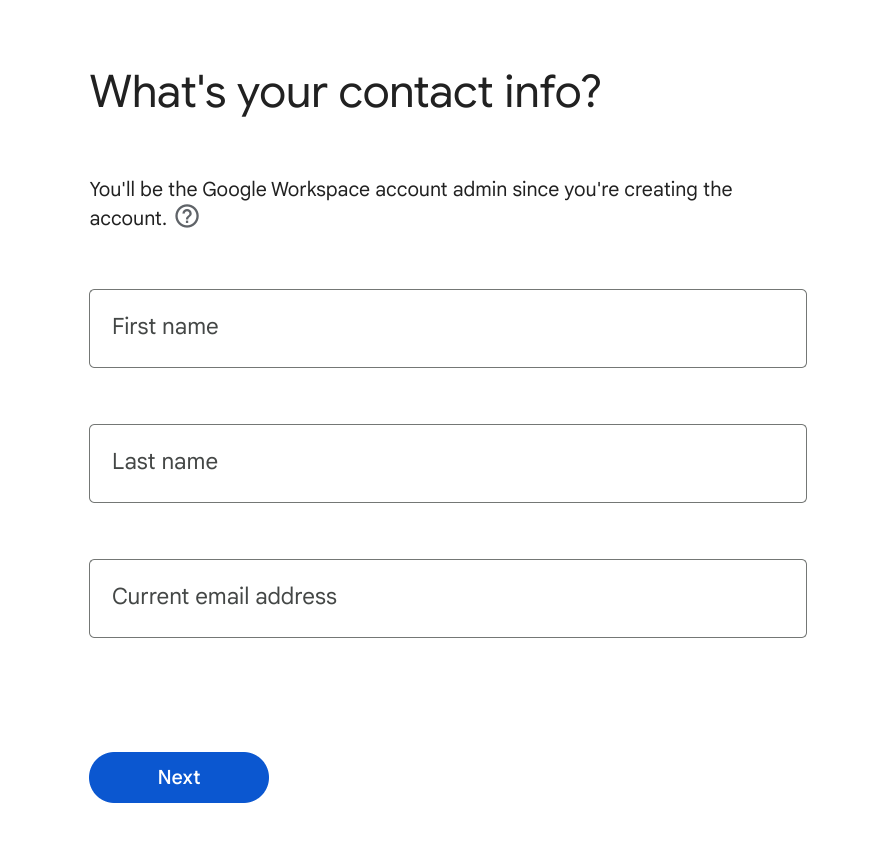
You’ll also be asked your contact information. Note that the first user created (you!) will be the super admin.
Next, you’ll be asked to provide the business domain.
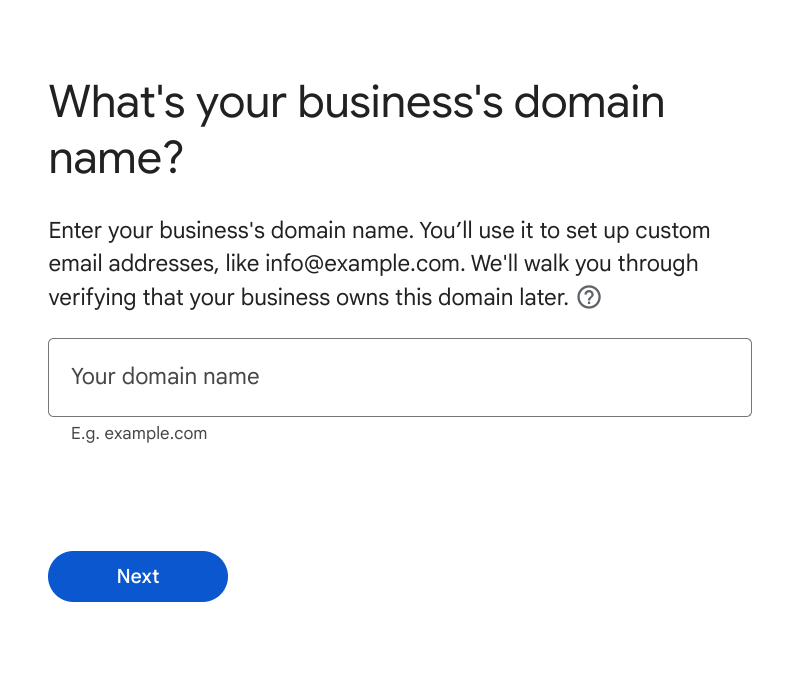
This is where you enter the (sub)domain to be associated with Cloud Identity, i.e. app-dev.redacted-domain.com in my case.
Next, you’ll be asked to confirm the (sub)domain name and provide a secondary (recovery) email address.
Finally, you’ll be asked to provide a user name and password to sign in as the Cloud Identity super admin, for example: org-admin@app-dev.redacted-domain.com.
Once we pass this step, the browser will redirect us to login to Cloud Identity Admin using the newly created user. In some cases, you may be asked to provide a phone number for verification.
configure domain and dns
Once we login in successfully the first time, Cloud Identity will prompt to verify that we own the domain. Here, it identified that Cloudflare is my registrar
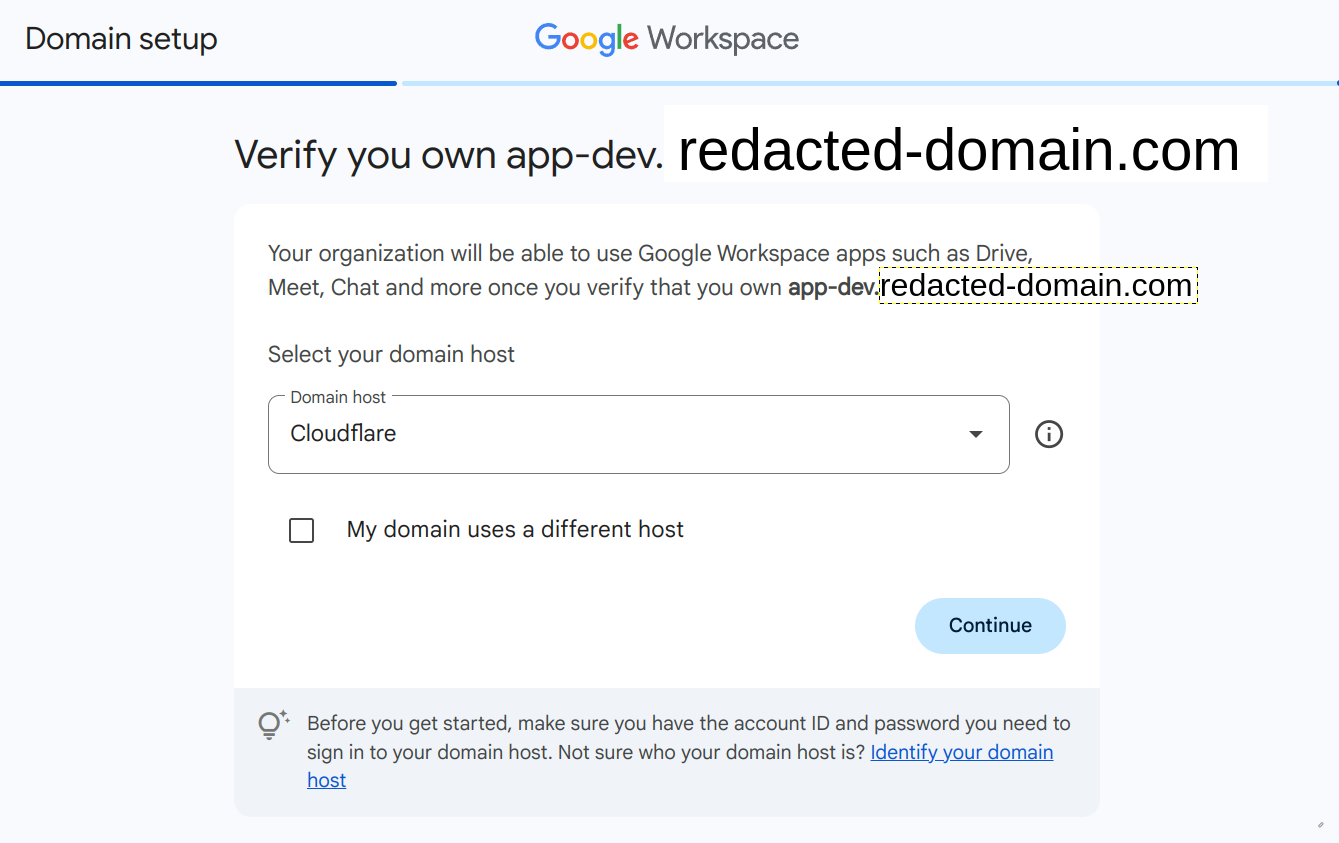
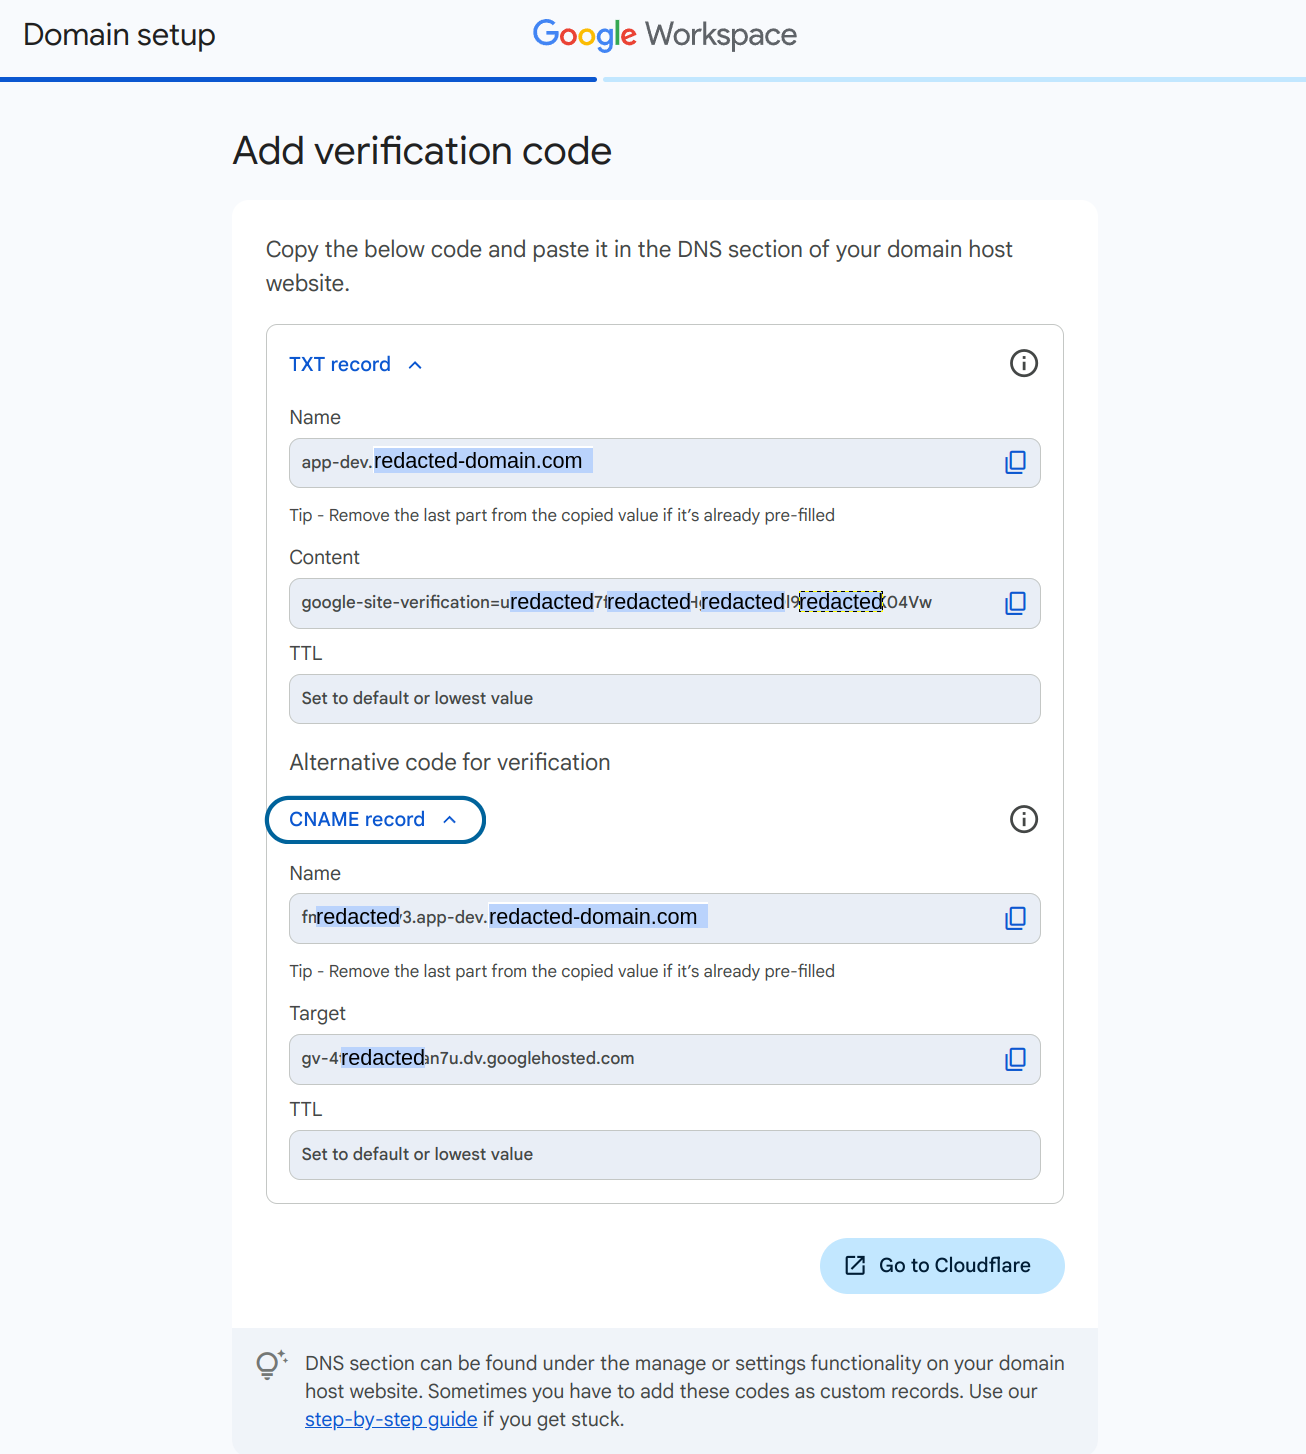
and prompts me to create the necessary TXT and CNAME records.
cloudflare setup
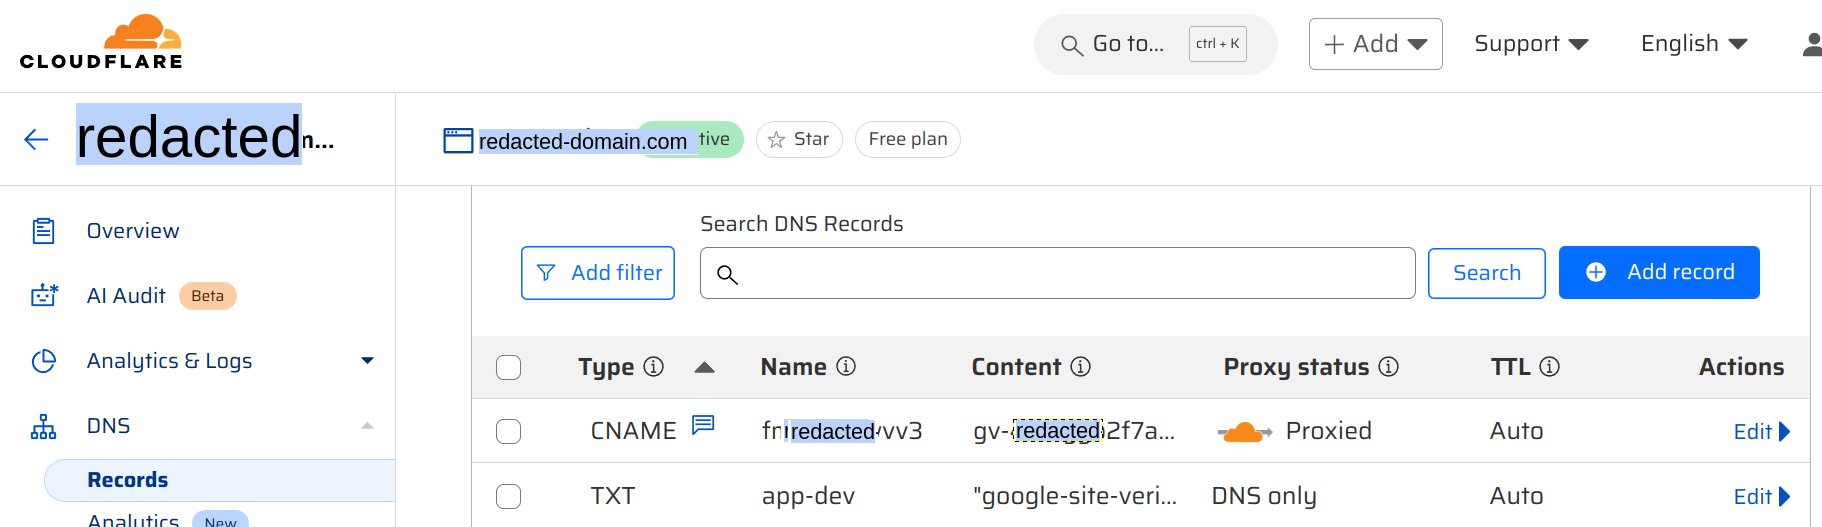
Now, we login to our domain registrar / DNS provider to setup the TXT and CNAME records accordingly.
For Cloudflare, it should look something like this when done:
cloud identity
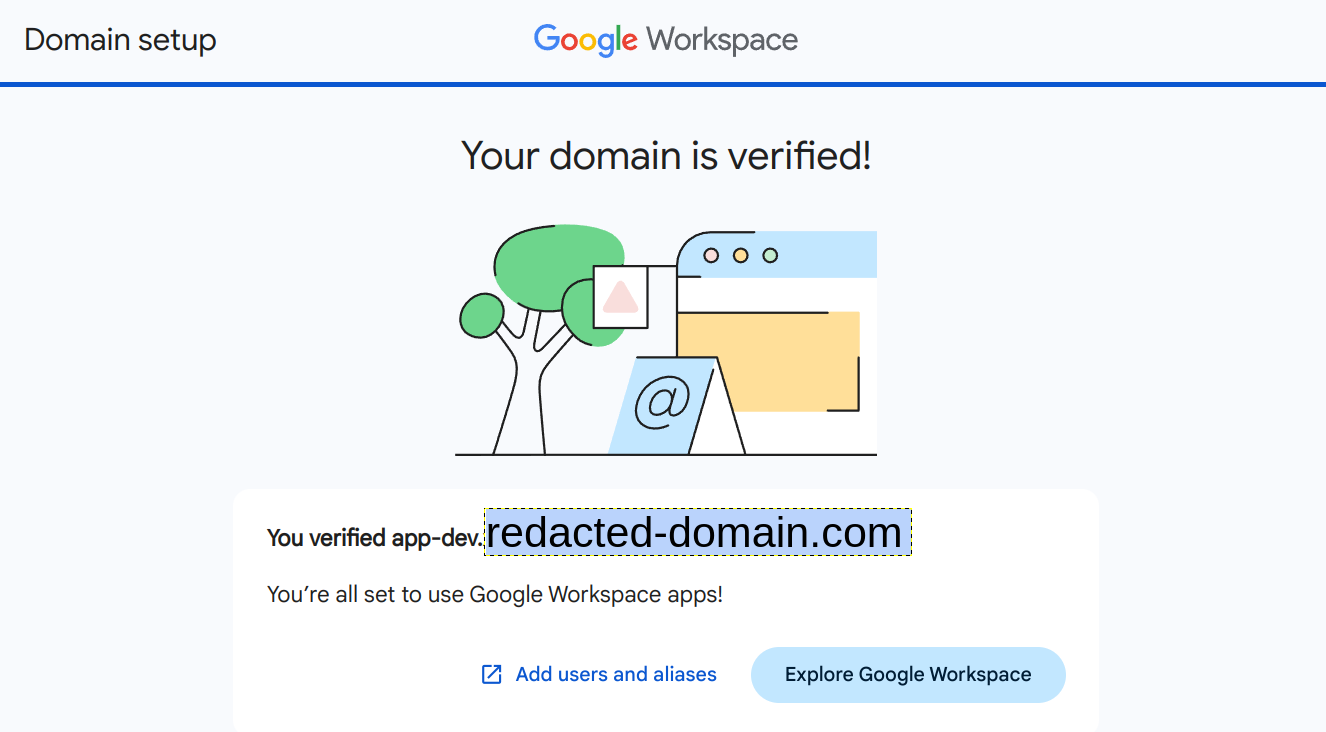
Once the DNS records are configured. Return to Cloud Identity, and click on the confirm button at the bottom of the page.

After a few moments, we should be all set!
| At this point, remember to enable 2FA for the admin account! |
google cloud console
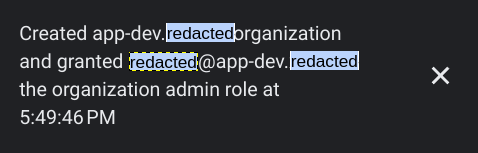
Now, we can login in the to the Google Cloud Console with the newly created user (org-admin@redacted-domain.com). After a few moments, Google Cloud will create the Organization in the background, and you will see a notification like so:
finishing touch
At this point, we have created a Cloud Identity account and a Google Cloud Organization, along with the super admin org-adm@app-dev.redacted-domain.com.
However, as Cloud Identity is not a full-fledged Google Workspace account, the super admin user will not have access to email. One thing we can do is to set up email routing on Cloudflare, to forward emails to the super admin to another email address.
On the domain page on Cloudflare, select Email → Email Routing and then click on Settings tab.
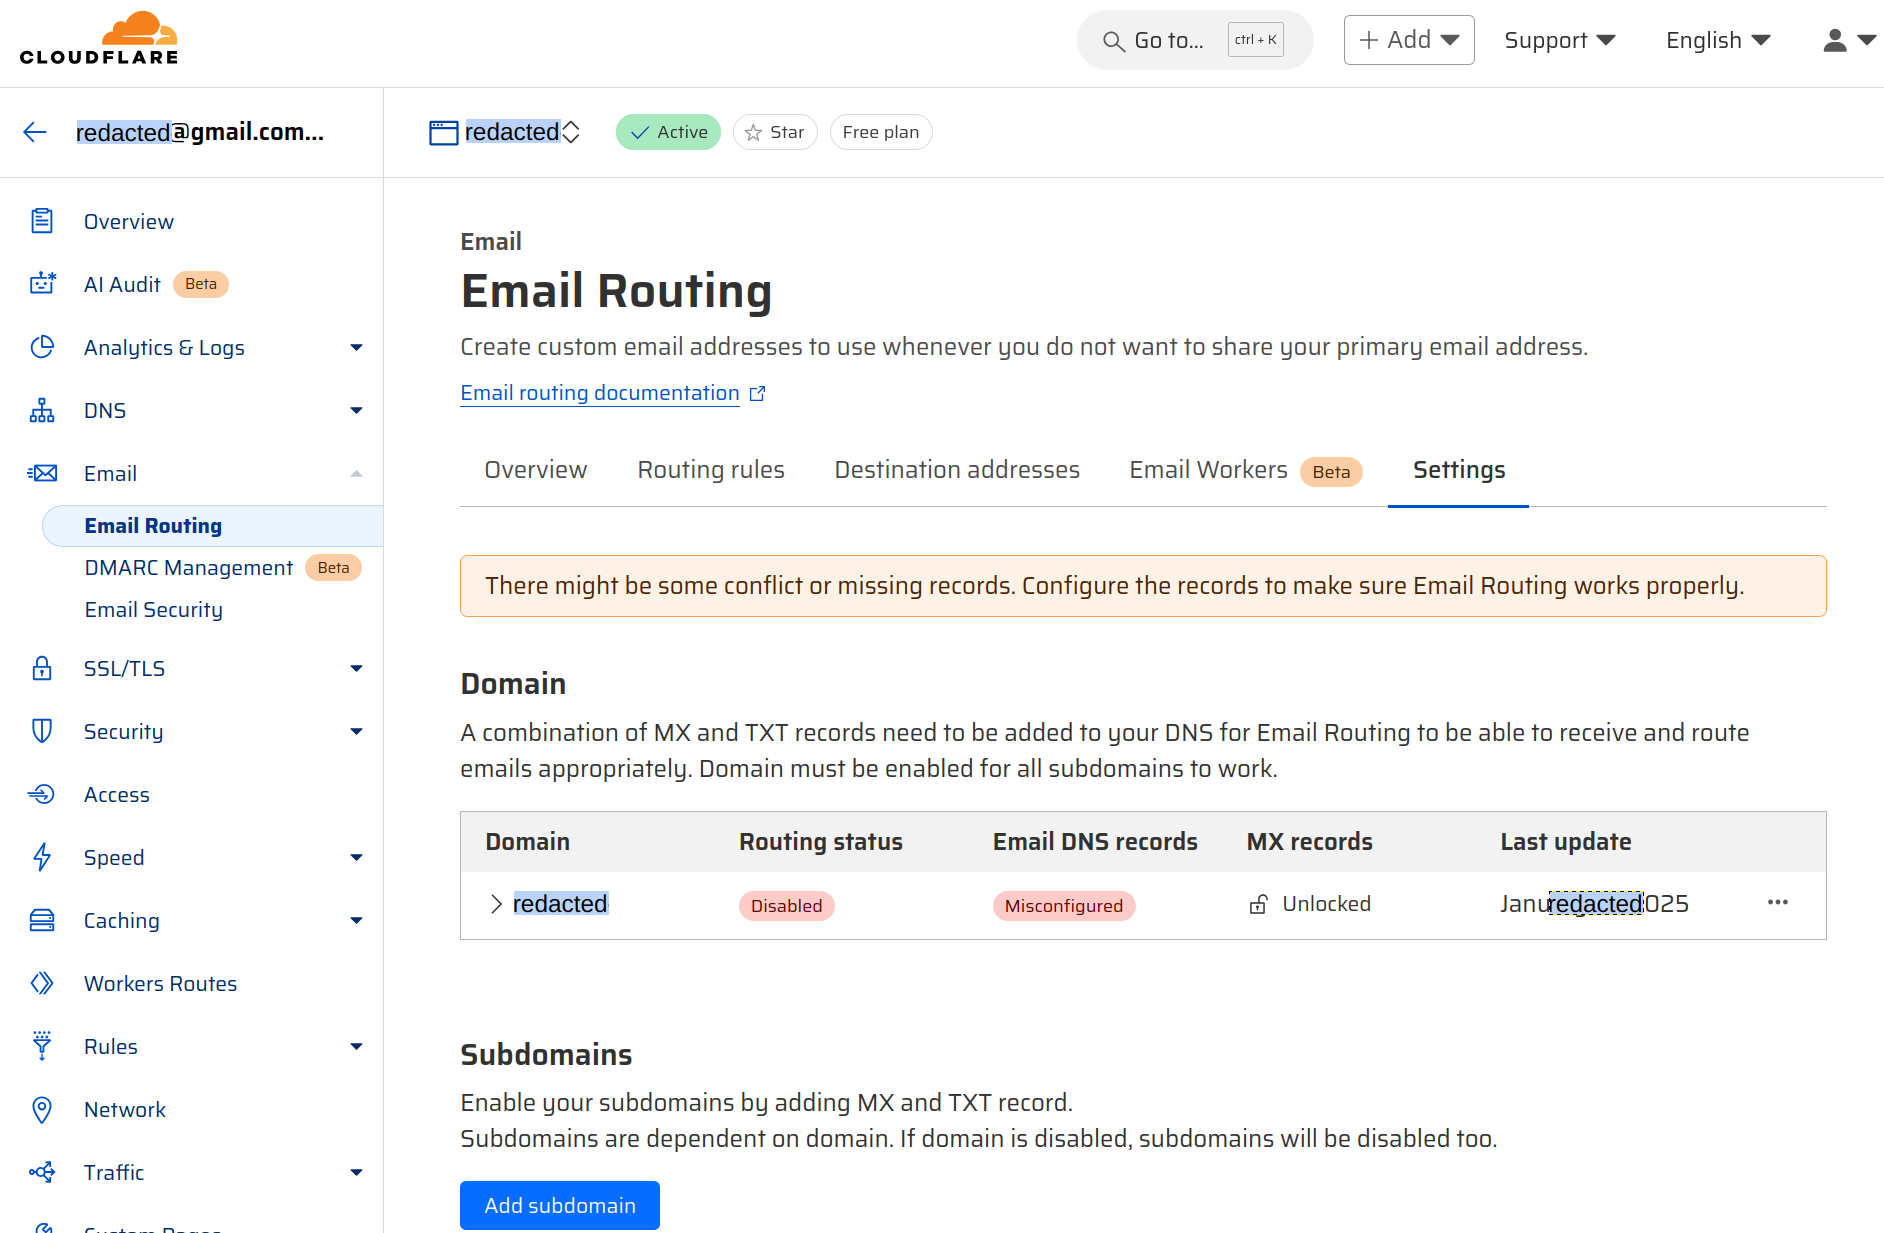
Click on Add subdomain and fill in the name of the sub-domain (app-dev.redacted-domain.com). The relevant MX records will be generated and added by Cloudflare. We can then proceed to create an email destination address and routing rule in Cloudflare.
accessing google cloud with parent domain email
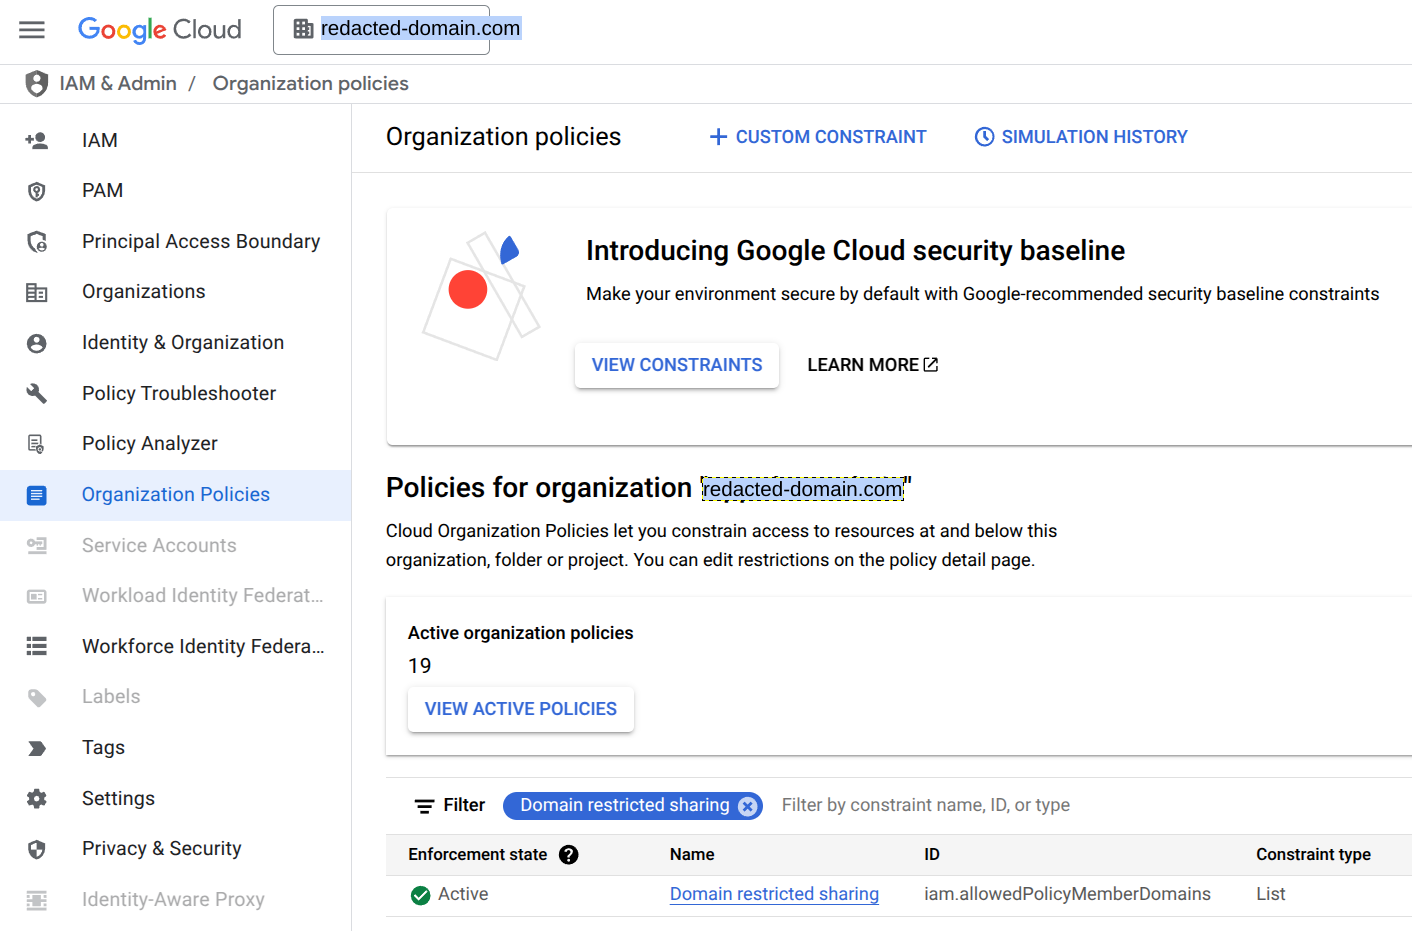
When the organization is first setup, it will have an organization policy that allows only identities with the same domain email (i.e. @app-dev.redacted-domain.com). In most cases, we do not want to have separate identities providers, so we’ll modify the Domain restricted sharing policy to allow IAM principals from the parent domain.
First ensure you have Organization Policy Adminstrator role, then from the Google Cloud console, open the Organization Policies page and search for Domain restricted sharing.
Edit the policy and add the parent domain’s Cloud Identity customer ID to the list.
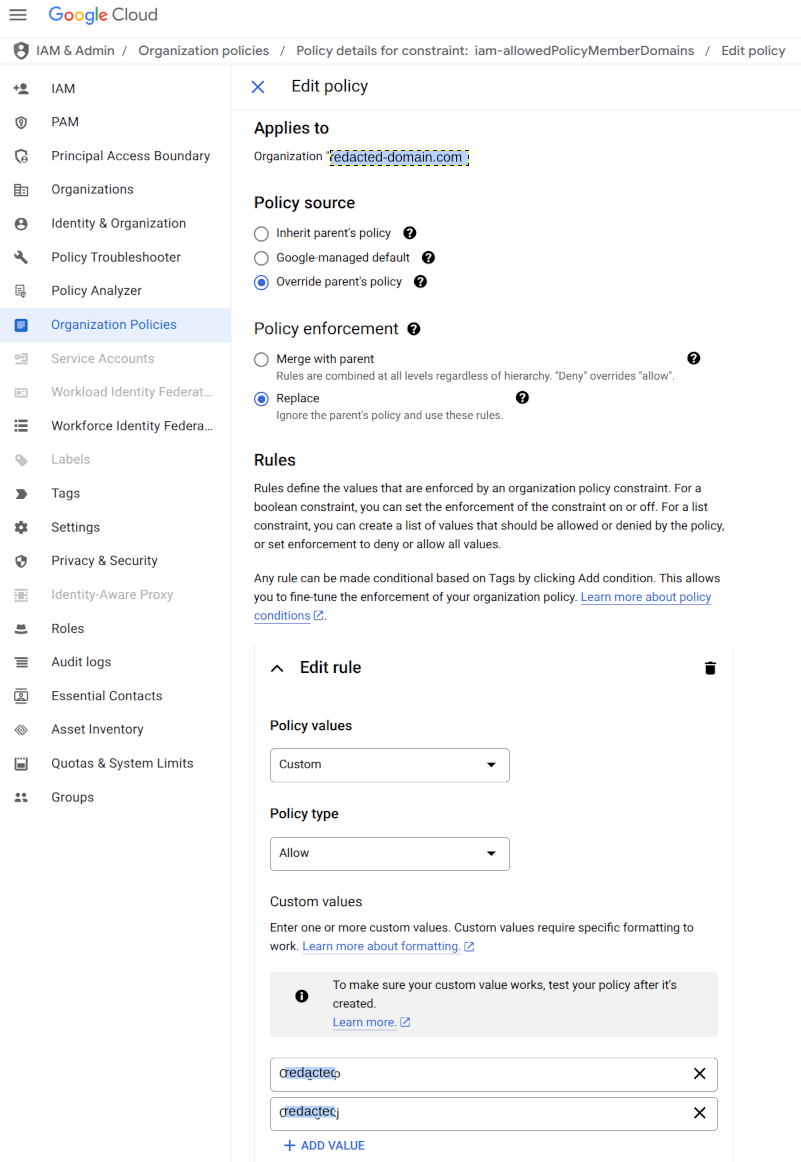
If the parent domain is not a Google Workspace or Cloud Identity account, we can change the Domain restricted contacts instead and add the parent email domain.