A step-by-step walk-through of installing OpenShift (on AWS) with Installer-provisioned Infrastructure using manual credentials mode.
why
OpenShift comes with a Cloud Credentials Operator that manages the credentials used to operate the cluster. However, many organizations have established processes and controls to manage IAM credentials, and prefer (or mandated) to utilize their existing processes and mechanisms for consistency/compliance and various reasons.
getting the installer
Download the OpenShift installer here. You may need to create a Red Hat account if you don’t already have one. This is also where you download your pull secret that you’ll need later in the installation process.
installation credential
We need to run the installer using an AWS account with the necessary permissions to provision VPC and other resources. This can be an administrator account or and account provisioned with the necessary permissions as documented here.
I have an example policy defined on github gist. We create an IAM user with this policy attached using the AWS CLI, or web console.
enter terraform
In this article, I’m using Terraform to create the installation credential, as well as the other credentials and artifacts required by OpenShift. You can download Terraform from here.
Clone my terraform config like so:
git clone https://github.com/naikoob/openshift-aws-terraform.gitCd into the cloned project and initialize the terraform working directory:
cd openshift-aws-terraform
terraform init
We can review what gets created by the config with
terraform planFinally, apply the changes with 7
terraform applyWhen terraform completes, the following set of users will be created:

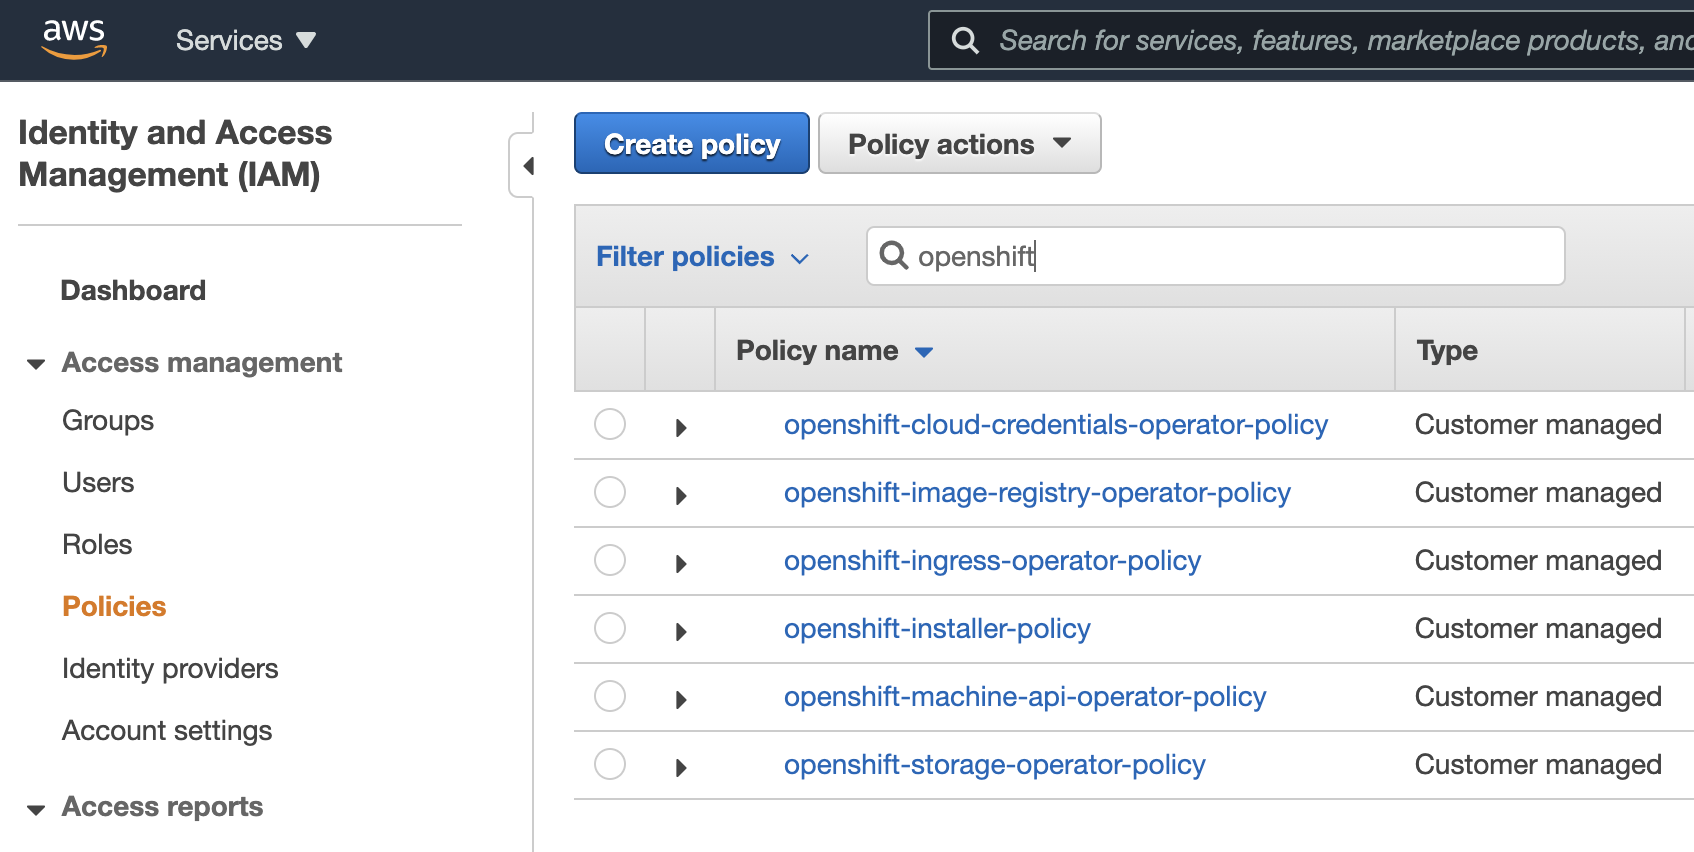
the following policies are also created

Finally, the following files are generated:

installing openshift
One of the generated files above is the "installer-credentials". This is the credential file for the openshift-installer user created by the Terraform config above. Append this to your AWS CLI credentials file (typically ~/.aws/credentials).
Make sure the openshift-installer profile is used. On MacOS or Linux, do this:
export AWS_PROFILE=openshift-installerNext we can generate the installation configuration with
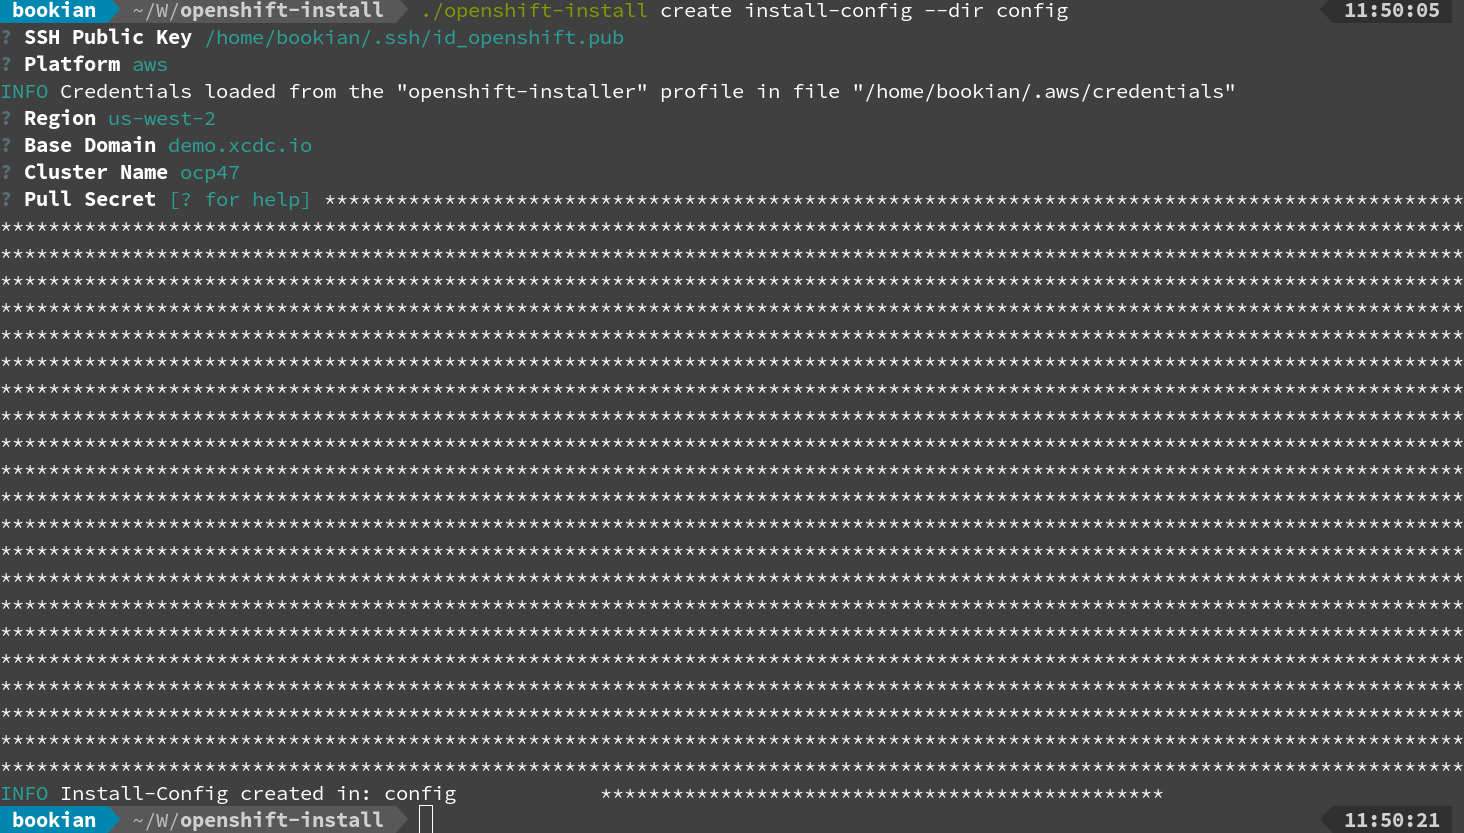
./openshift-installer create install-config --dir configYou will be prompted for a few inputs, including your pull-secret downloaded from here earlier.

configure credentials mode
Edit the generated install-config to add credentialsMode as follows:
 apiVersion: v1
 baseDomain: demo.xcdc.io
 credentialsMode: Manual (1)
 compute:
 - architecture: amd64
   hyperthreading: Enabled
   name: worker
   platform: {}
   replicas: 3
 controlPlane:
   architecture: amd64
   hyperthreading: Enabled
   name: master
   platform: {}
   replicas: 3
 metadata:
   creationTimestamp: null
   name: ocp47
# .... more config reducted| 1 | add this line to select Manual credential mode. |
generate manifests
Next, we generate the manifests with:
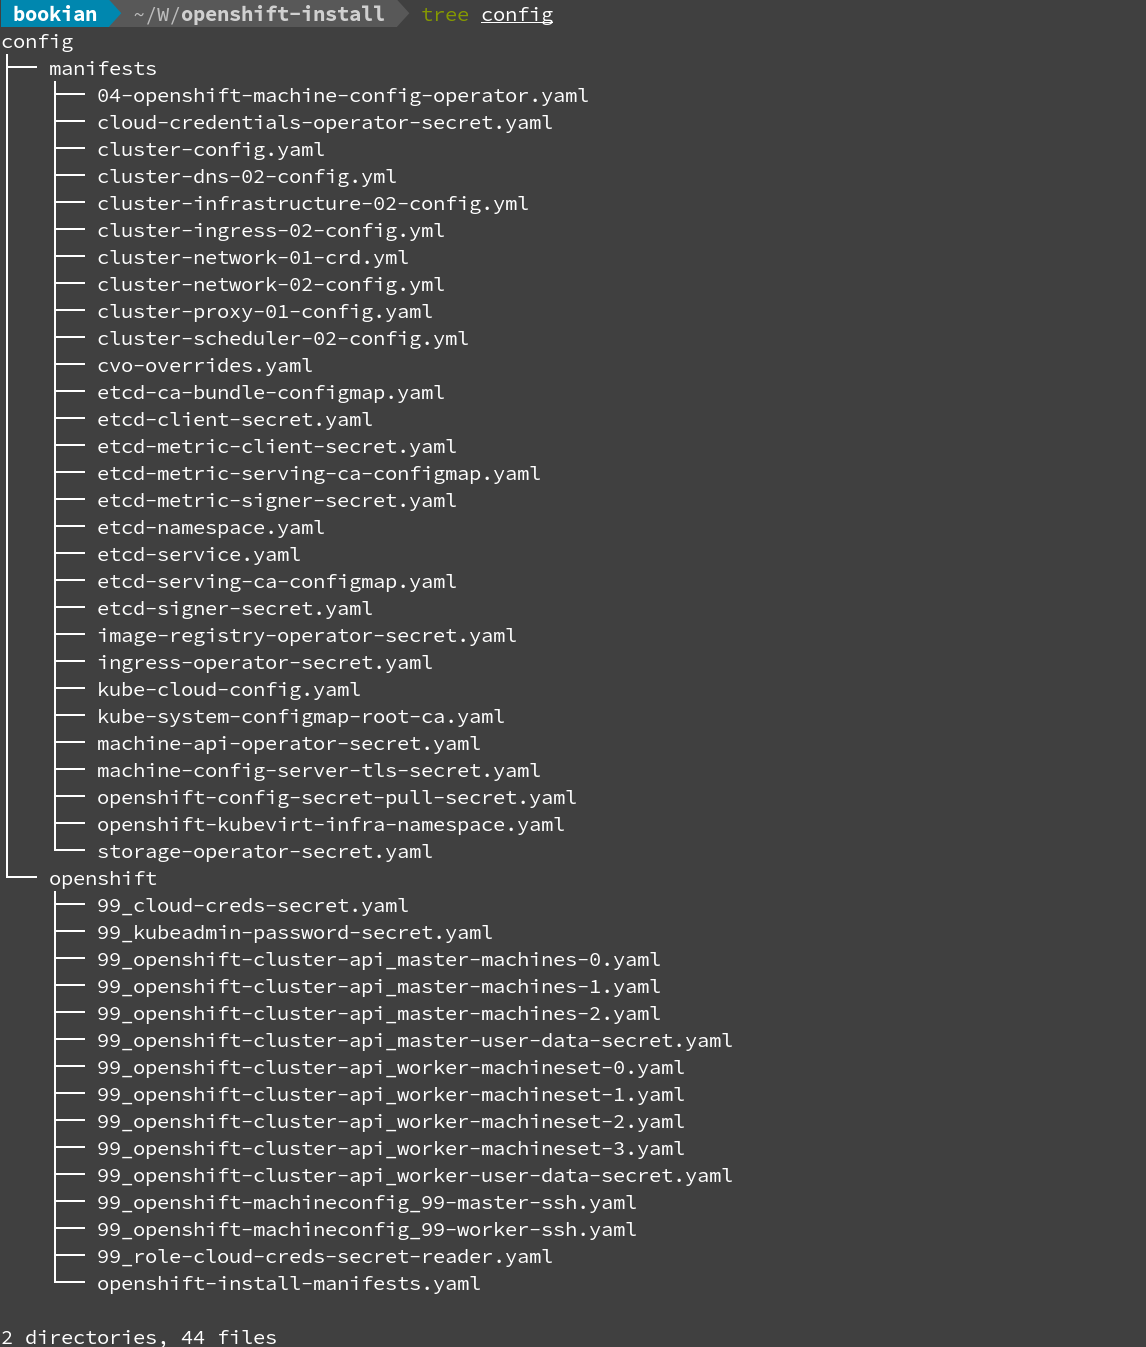
./openshift-install create manifests --dir configThis will generate the manifest files under the config directory. We will copy the secrets yamls generated by terraform config (under generated-files/secrets subdirectory) into the config/manifests directory. The resulting directory structure should look like this:

You will notice that the install-config generated earlier will be removed. This is normal, so don’t be alarmed.
create cluster
We are now ready to create the cluster with:
./openshift-install create cluster --dir config --log-level debugYour OpenShift cluster should be up and running in about 40 minutes, and you can login to the OpenShift console using the console url and credentials created by the installer.
Finally, we can confirm that the cluster is indeed operating in Manual credentials mode by inspecting the cluster-config-v1 configmap in the kube-system namespace using the web console, or from the oc command line like so:
oc get cm -n kube-system cluster-config-v1 -o yaml | grep -i credentialsmode